
使用sigil制作epub电子书的一些技巧
试着用各种导入工具和转换工具来制作epub电子书,但是效果总是不好。最后还是直接通过在Text栏,右键点击“添加空白HTML文件”的方式来制作最省事。这里记下一些小技巧:
Tips 01: 正文首行缩进2个字符,并且定义一个段间距,使的排版更好看。
可以在Styles栏里,点击右键“增加空白的样式表”,生成一个css文件,然后输入:
p{
	text-indent:2em;
	padding:0px;
	margin:0px;
	margin-top: 0px;
	margin-bottom: 12px;
}
上面text-indent:2em,就是首行缩进,而miargin-bottom就是段后间距。然后在xhtml文件上,点右键,选择“链接样式表…”,勾选刚才的文件,即可看到变化。
Tips 02: 删除文件中的空格或者多个空行
这个没有什么好办法,一般我都是把文字拷到记事本里或者ultraEditer里来替换的。在ultraeditor里,如果是换行符,可以用^r^n来替换。
Tips 03:格式刷
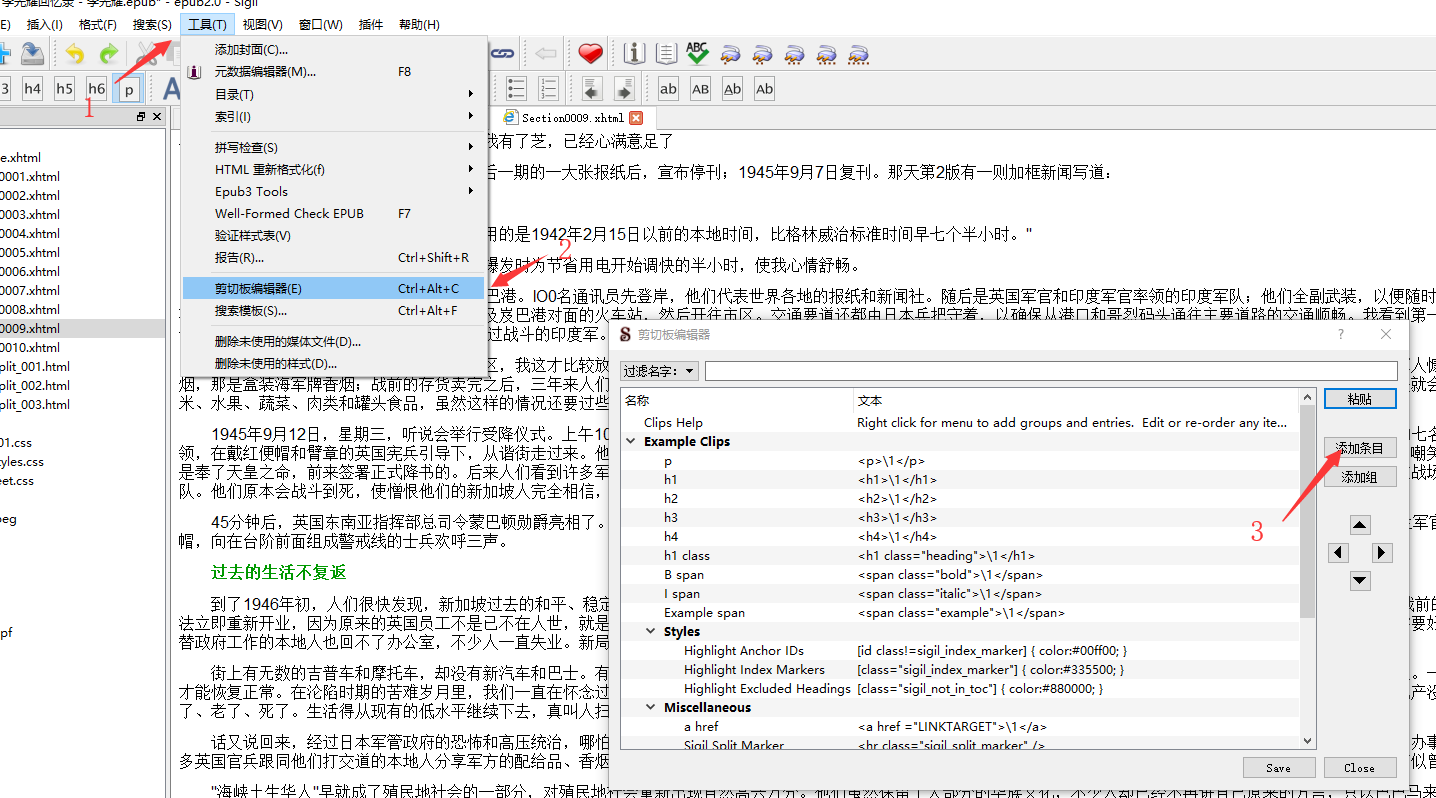
对于常用的格式,比如我希望文中的小标题是绿色加粗的字体,可以在“工具”-“剪贴板编辑器”里,选择“添加条目”
填一下好记的名字,然后在文本一栏里输入
<font color="#009900" style="font-weight: bold;">\1</font>保存后,回到书籍视图,选中标题的文字,然后点右键
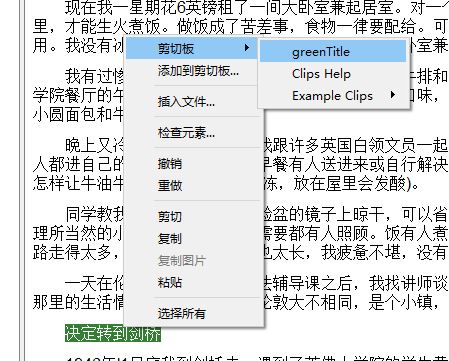
就能看到在“剪切板”里有一个刚才定义的名字,这就相当于Word里的格式刷了。
Tips 04: 插图
直接插图没有什么问题,但是出现半包围什么的,就有点麻烦了。比如我希望一段文字在左边,图片在右边,只能硬排版了,具体可以在sigil的CSS里,加上下面的代码:
/*左绕排,左边的50%放图*/
div.float-left {
    width: 50%;
    float: left;
    margin-right: .5em;
    margin-bottom: .5em;
}
/*右绕排,右边的50%放图*/
div.float-right {
    width: 50%;
    float: right;
    margin-left: .5em;
    margin-bottom: .5em;
}
/*右绕排,但是图比较小,就设为右边的20%放图*/
div.float-right-small {
    width: 20%;
    float: right;
    margin-left: .5em;
    margin-bottom: .5em;
}
div.float-right img {
    width: 100%;
}
而在代码页里,先把图片拉进去,然后在图前后加上一个标注:
<div class="float-right"><img alt="1" src="../Images/1.png"/></div>Tips 05:注释
最直观的就是用链接链来链去,只是又要加锚点什么的,有点麻烦。而有epub3.0格式中,有一个简单的方法就是,在注释点如此写:
<a epub:type="noteref" href="#footnote_1">注1</a>
<a epub:type="noteref" href="#footnote_2">注2</a>
<a epub:type="noteref" href="#footnote_3">注3</a>
在代码页的最后,在</body>之前,加上注释的内容
<section epub:type="footnotes">
  <aside epub:type="footnote" id="footnote_1"><p>这是注释内容1。</p></aside>
  <aside epub:type="footnote" id="footnote_2"><p>这是注释内容2。</p></aside>
  <aside epub:type="footnote" id="footnote_3"><p>这是注释内容3。</p></aside>
</section>
这种写法在epub3.0格式可以直接写,如果在2.0,则可以在代码的开头加上一段命名空间
<html xmlns="http://www.w3.org/1999/xhtml" xmlns:epub="http://www.idpf.org/2007/ops">